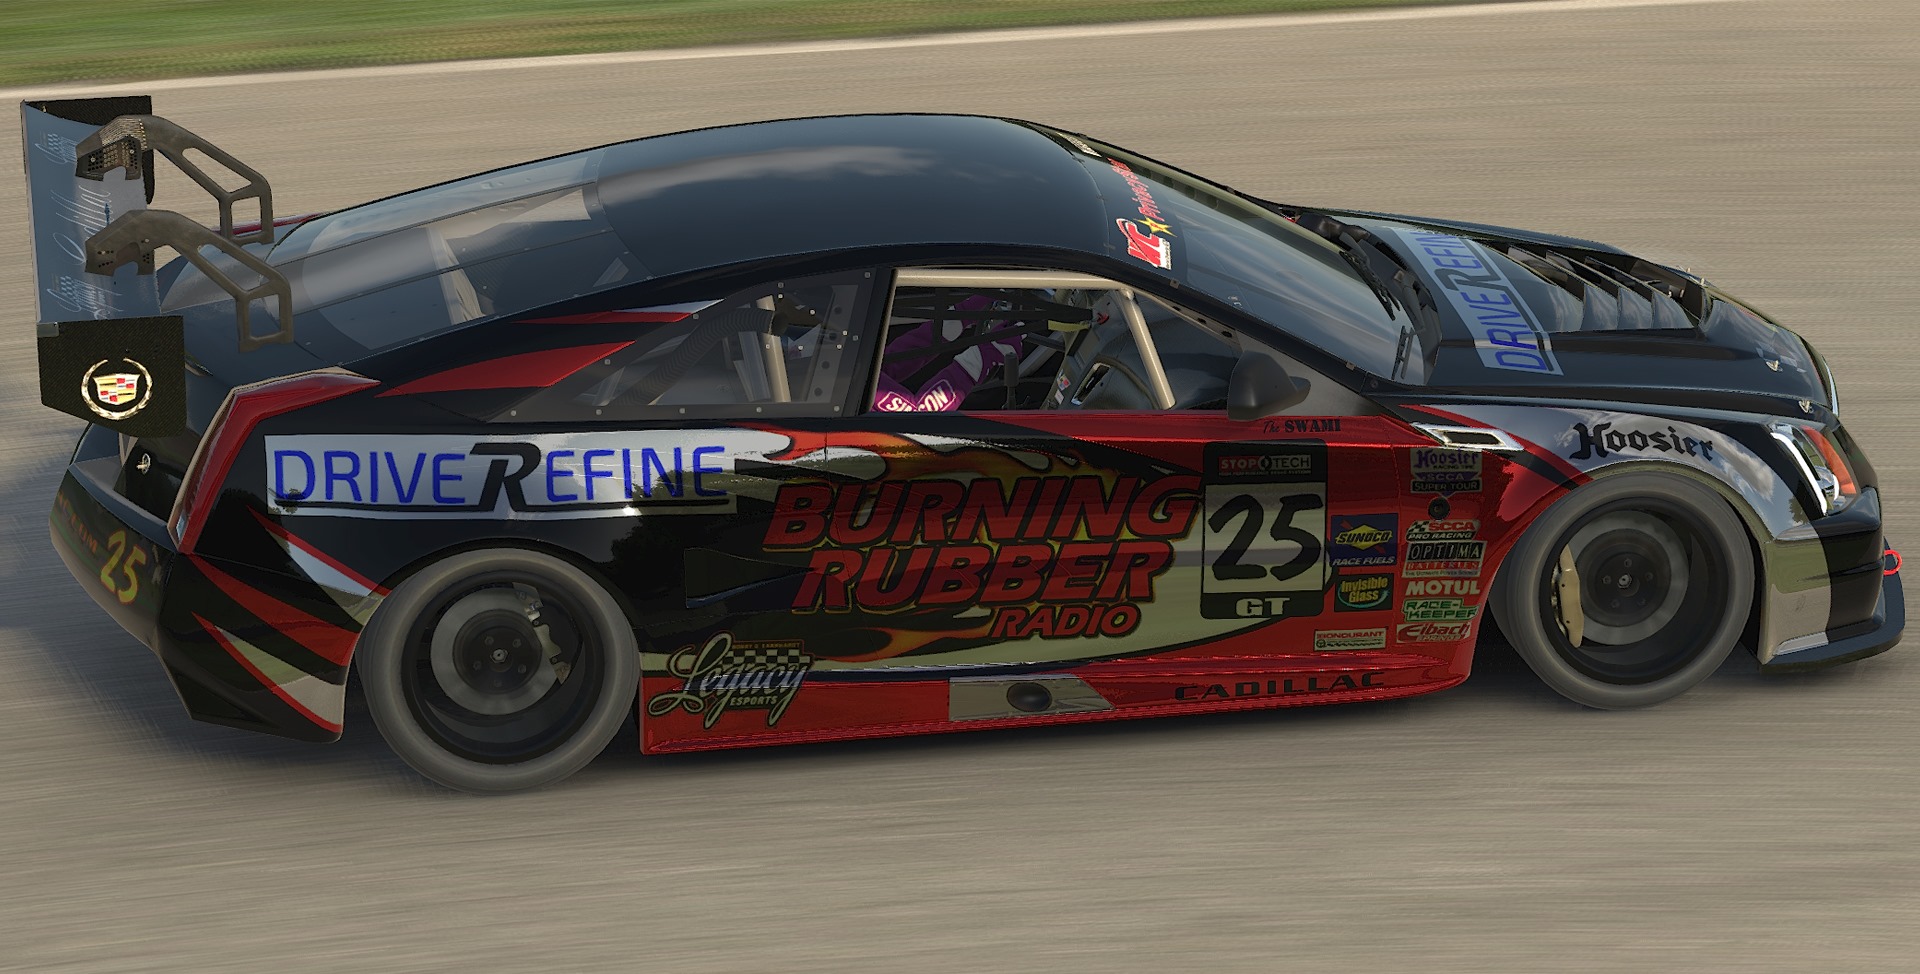
08.17.2022 Joey Coulter
Welcome to Part 1 of the DriveRefine guide around a new track. If you ever get to a track before the actions starts, chances are good you will see multiple people taking a walk around parts or all the track. Those people aren't just wandering around aimlessly and they sure aren't walking all that way just for fun. Well, the ones that know what they are doing anyway. Drivers and crew members take the time to look at the racing surface for all kinds of reasons. More experienced drivers look for things that the average person may not consider at all. I am going to take you through the process that I use when I walk the track, step by step. Pun intended. It is the same process that I teach in the DriveRefine programs.
Step 1) Get to the track.
Sounds like a self-explanatory step but there's a lot of useful information that you can gather by paying attention to how you get to the track. Some tracks have mandated traffic flow through the pits, some have narrow entrances and exits with bad visibility. Where are the scales? Is there a staging lane? All these and more are small details that can wreck a driver’s focus before getting on the track for the first time. Not knowing some of these details could get laughed at by the locals or yelled at by race control. Let's face it, no one wants that on their first day at a track.
Step 2) Get a big picture view.
Once you've made it to the track, climb up a few rows of bleachers and get an overhead view. This is useful for several reasons. First, it gives you the whole picture of what you are going to break up into small fragments once you start walking on the racing surface. Second, in most pavement applications, you will have a spotter. This step gives you the same perspective he or she will have from up high. You will know what your spotter can and can't see when you are out on the track. Pay special attention to how visible the flag stand, caution lights, emergency vehicles, pit gates, and of course victory lane are. Don't want to get lost searching for that later.
Step 3) Walk the walk.
Now the fun part. Obviously tracks come in all different shapes and sizes. This can all still be done. For simplicity's sake, and a shorter walk, let's just assume we are on a half mile paved oval.
Start at the entrance to turn 1. Fast laps that are also consistent are all about a rhythm. This rhythm is something that you should give yourself a feel for when you are walking a track for the first time. Scoring takes place at the start finish line. Step 1 to a fast lap, is get through turn 1. On ovals that are asymmetric, for example tri-ovals or quad-ovals, the entrances and exits of the corners are dictated by different shaped and length straights. Think about how that may change your rhythm.
As you take your first steps towards turn 1, the first thing you should notice is the transition from straight to corner. Look at the change in banking and the elevation of the corner compared to the straightaway. Some tracks you drive off a straightaway and fall DOWN into the corner where the banking either picks up or remains the same. In this case the corner is at a lower elevation than the straightaway. Other tracks you drive INTO and UP the banking. In this case the corner is at a higher elevation than the straightaway. Why does this matter? Not to take anything away from a future blog post but think about which tires get loaded or unloaded first when approaching these two different entrance types. Lower corner elevation, the RF tire is going to unload initially and then load first or at the same time as the rest of the car, depending on the banking. Higher corner elevation, the RF tire is going to load first. Of course, there are thousands of different ways the entry to a corner can be configured. My goal in talking about this is get you think about why it matters for the rest of the corner.
Now that you have entered the corner, the next step is to figure out where you want to exit. That doesn't mean that we are forgetting about the middle of the corner. What it means is that where you place your car through the center needs to be dictated by where you want to exit. Look over to where the corner meets the back straightaway and try to find the best spot to exit in. Again, pay attention to future posts for more info on exactly what this means. Now that you know where you want to exit, keep that spot in your field of vision as you walk your way around the corner.
Once you arrive at the midpoint of the corner (not to be confused with apex), stop and turn around to face the entry to turn 1. Assuming the layout and the condition of the track allows it, you are going to want to run your car through the corner in the smoothest arc possible. Of course, there are going to be different factors may force you to adjust both on entry and on exit. In general, a lower, straighter exit is what you are going to shoot for. When you are at the midpoint, look at both where you entered and where you want to exit. Use this point in the corner to adjust where you are walking to complete the smoothest arc possible. This is also how you determine the corner’s apex. I have heard it described differently but to me, the apex is the point in the corner at which you stop entering and start exiting. After you've entered the corner, got off the gas pedal, and applied the brakes, there is a short window to let the car roll. This point is usually very close to the apex because the next step it to re-apply throttle.
As you continue to walk towards the exit of turn 2, keep looking back at the entry to 1, to make sure you are still walking the best arc. For tracks with longer corners, you may find it necessary to take a few steps up the track off the bottom lane, to give a better position to exit where you want. Keep an eye on how the banking is changing through this section of the corner as well. There may be transitions from entry to the center and center to the exit. Note the surface condition and any bumps, cracks, or pave lines that may force you to adjust your line on the track. Try to visualize how you are going make those adjustments.
By now, you've made your way to the corner exit. Before you stop to look back at turn 1 and midpoint of the corner, keep walking until you can make a straight line from the corner to the midpoint of the back straightaway. Use this point as a visual reference of where you want to try and place your car. This point should be where you can straighten the wheel and really get back after the throttle. In some cases, this point may also be the apex. It will all depend on the configuration of the track.
Going back to the assumption that we are walking a symmetric paved oval, the same steps can be taken to familiarize yourself with turns 3 & 4. This post was meant to be an introduction to breaking down a track for the first time. No two tracks are the same, but now you say that you are more prepared than the driver who just puts his tired in the black marks that already exist on the surface. Yes, most tracks have a common line that everyone since the last repave has run in. That doesn't mean it’s the best and that it won't migrate over time.
The most important thing to remember when walking a track, is the place you want your car to end up is dictated by where you start corner entry and the speed that you are carrying. Be sure to stay tuned for Part 2 of the DriveRefine guide around a new track. The Points System. This system gives you a simple and repeatable way to get up to speed quickly and learn what works and what doesn’t around a new track.
Share